Fidget Bracelet DIY?
In a world that never seems to slow down, finding moments of tranquility becomes an invaluable necessity. But what if I told you that you could create your own oasis of calm with just a few simple materials and a touch of creativity? Welcome to the wonderful world of DIY fidget bracelets – where relaxation meets artistic expression in a delightful fusion of form and function.
Embracing Creativity:
The beauty of DIY fidget bracelets lies in their versatility and the opportunity they offer for self-expression. No two bracelets are alike, and each one is a unique reflection of its creator’s personality and style. Whether you’re a seasoned crafter or a novice enthusiast, crafting your own fidget bracelet is a journey of discovery and creativity.
Gather Your Supplies:
Before you embark on your crafting adventure, take a moment to gather your materials:
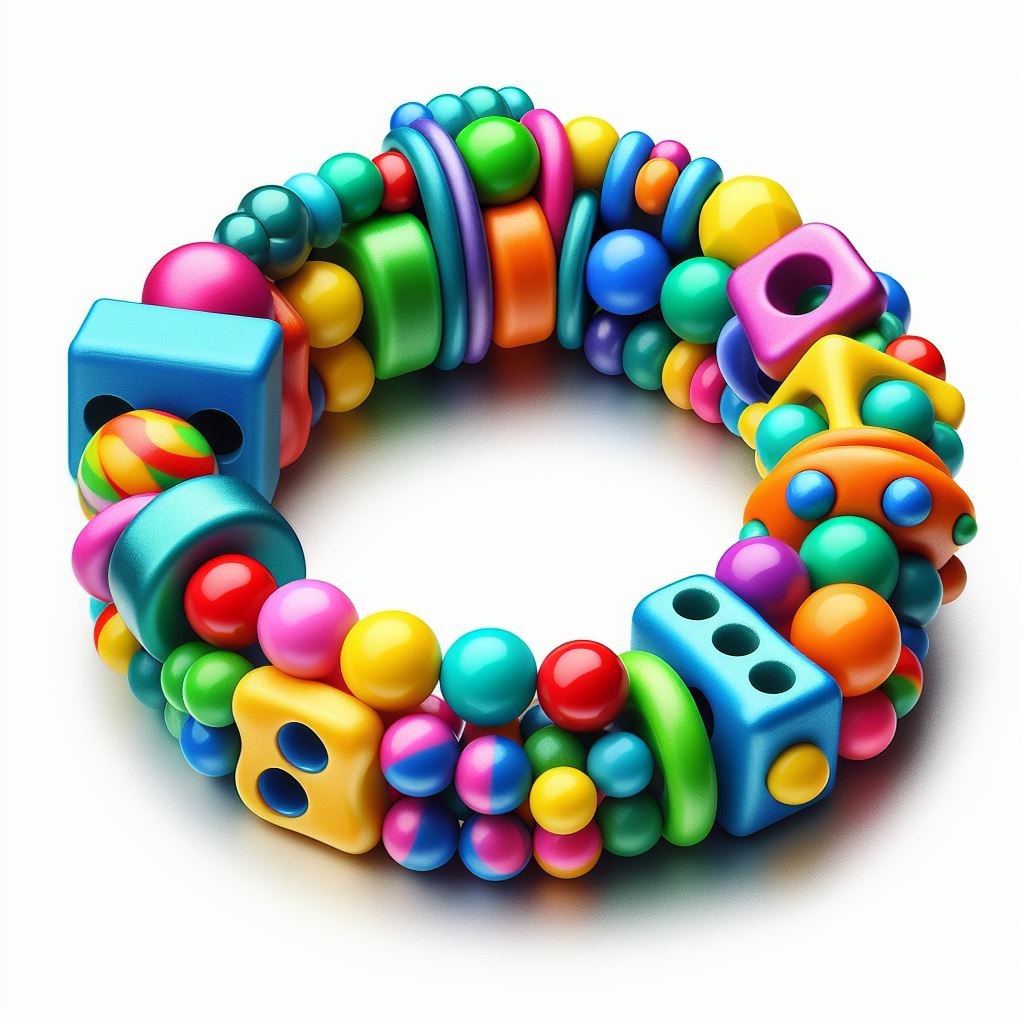
- Beads: Choose an assortment of beads in different shapes, sizes, and colors. Opt for beads with interesting textures or patterns to add tactile stimulation to your bracelet.
- Elastic Cord: Select a sturdy elastic cord that will comfortably stretch to fit around your wrist while still holding your beads securely in place.
- Fidget Components: Consider incorporating small, movable components like gears, buttons, or charms that will provide satisfying sensory feedback as you fidget with your bracelet.
- Optional Extras: Get creative and add your own personal touches, such as additional charms, pendants, or decorative findings.
Design Your Bracelet:
Now comes the fun part – designing your fidget bracelet! Let your imagination run wild as you experiment with different bead patterns, color combinations, and arrangements. Consider creating a pattern with your beads, alternating colors or sizes to add visual interest.
As you design your bracelet, keep in mind the placement of your fidget components, ensuring that they’re evenly distributed throughout the design for maximum enjoyment.
String Your Beads:
Once you’ve settled on a design, it’s time to start stringing your beads onto the elastic cord. Begin by tying a secure knot at one end of the cord to prevent the beads from slipping off as you work.
Thread your beads onto the cord, following your chosen pattern and spacing out your fidget components as you go. Take your time and enjoy the rhythmic motion of stringing beads, allowing yourself to get lost in the creative process.
Secure and Finish:
Once you’ve strung all of your beads onto the cord, it’s time to tie off the ends to secure your bracelet in place. Make sure to leave a little bit of slack in the cord to allow for stretchiness and comfort.
Tie a tight knot at both ends of the cord, double-checking to ensure that your beads are securely held in place. Trim any excess cord with scissors, being careful not to cut too close to the knots.
Embrace Your Creation:
Congratulations – you’ve just crafted your very own fidget bracelet! Slip it onto your wrist and let your fingers explore its tactile delights. Feel the smoothness of the beads, the gentle stretch of the elastic cord, and the satisfying click of the fidget components as you twist and turn them between your fingertips.
As you wear your fidget bracelet throughout the day, allow it to serve as a gentle reminder to slow down and savor the moment. Embrace the soothing power of fidgeting as you navigate the ups and downs of daily life, knowing that your wearable work of art is always there to bring you back to center.
So, the next time you find yourself in need of a little dose of tranquility, why not pick up some beads and embark on a journey of creative self-expression? With just a few simple materials and a touch of inspiration, you can craft a fidget bracelet that not only reflects your unique style but also brings a sense of calm and balance to your busy world.
Ready to explore The Top 5 Best Fidget Bracelets in 2024? Why not take a flip through our selections!
[Read more: Fidget Bracelets For Anxiety?]
[Read more: What Is A Fidget Bracelet?]